how to crochet | nightflower mitts

I designed these fingerless mitts a couple of years ago for Simply Crochet magazine and do you know what? I posted them off and then completely forgot about them. They came back to me in the post quite some time after the publication date and I was pleasantly surprised to open a parcel and see them again when I had completely and utterly forgotten they existed. Poor mitts.
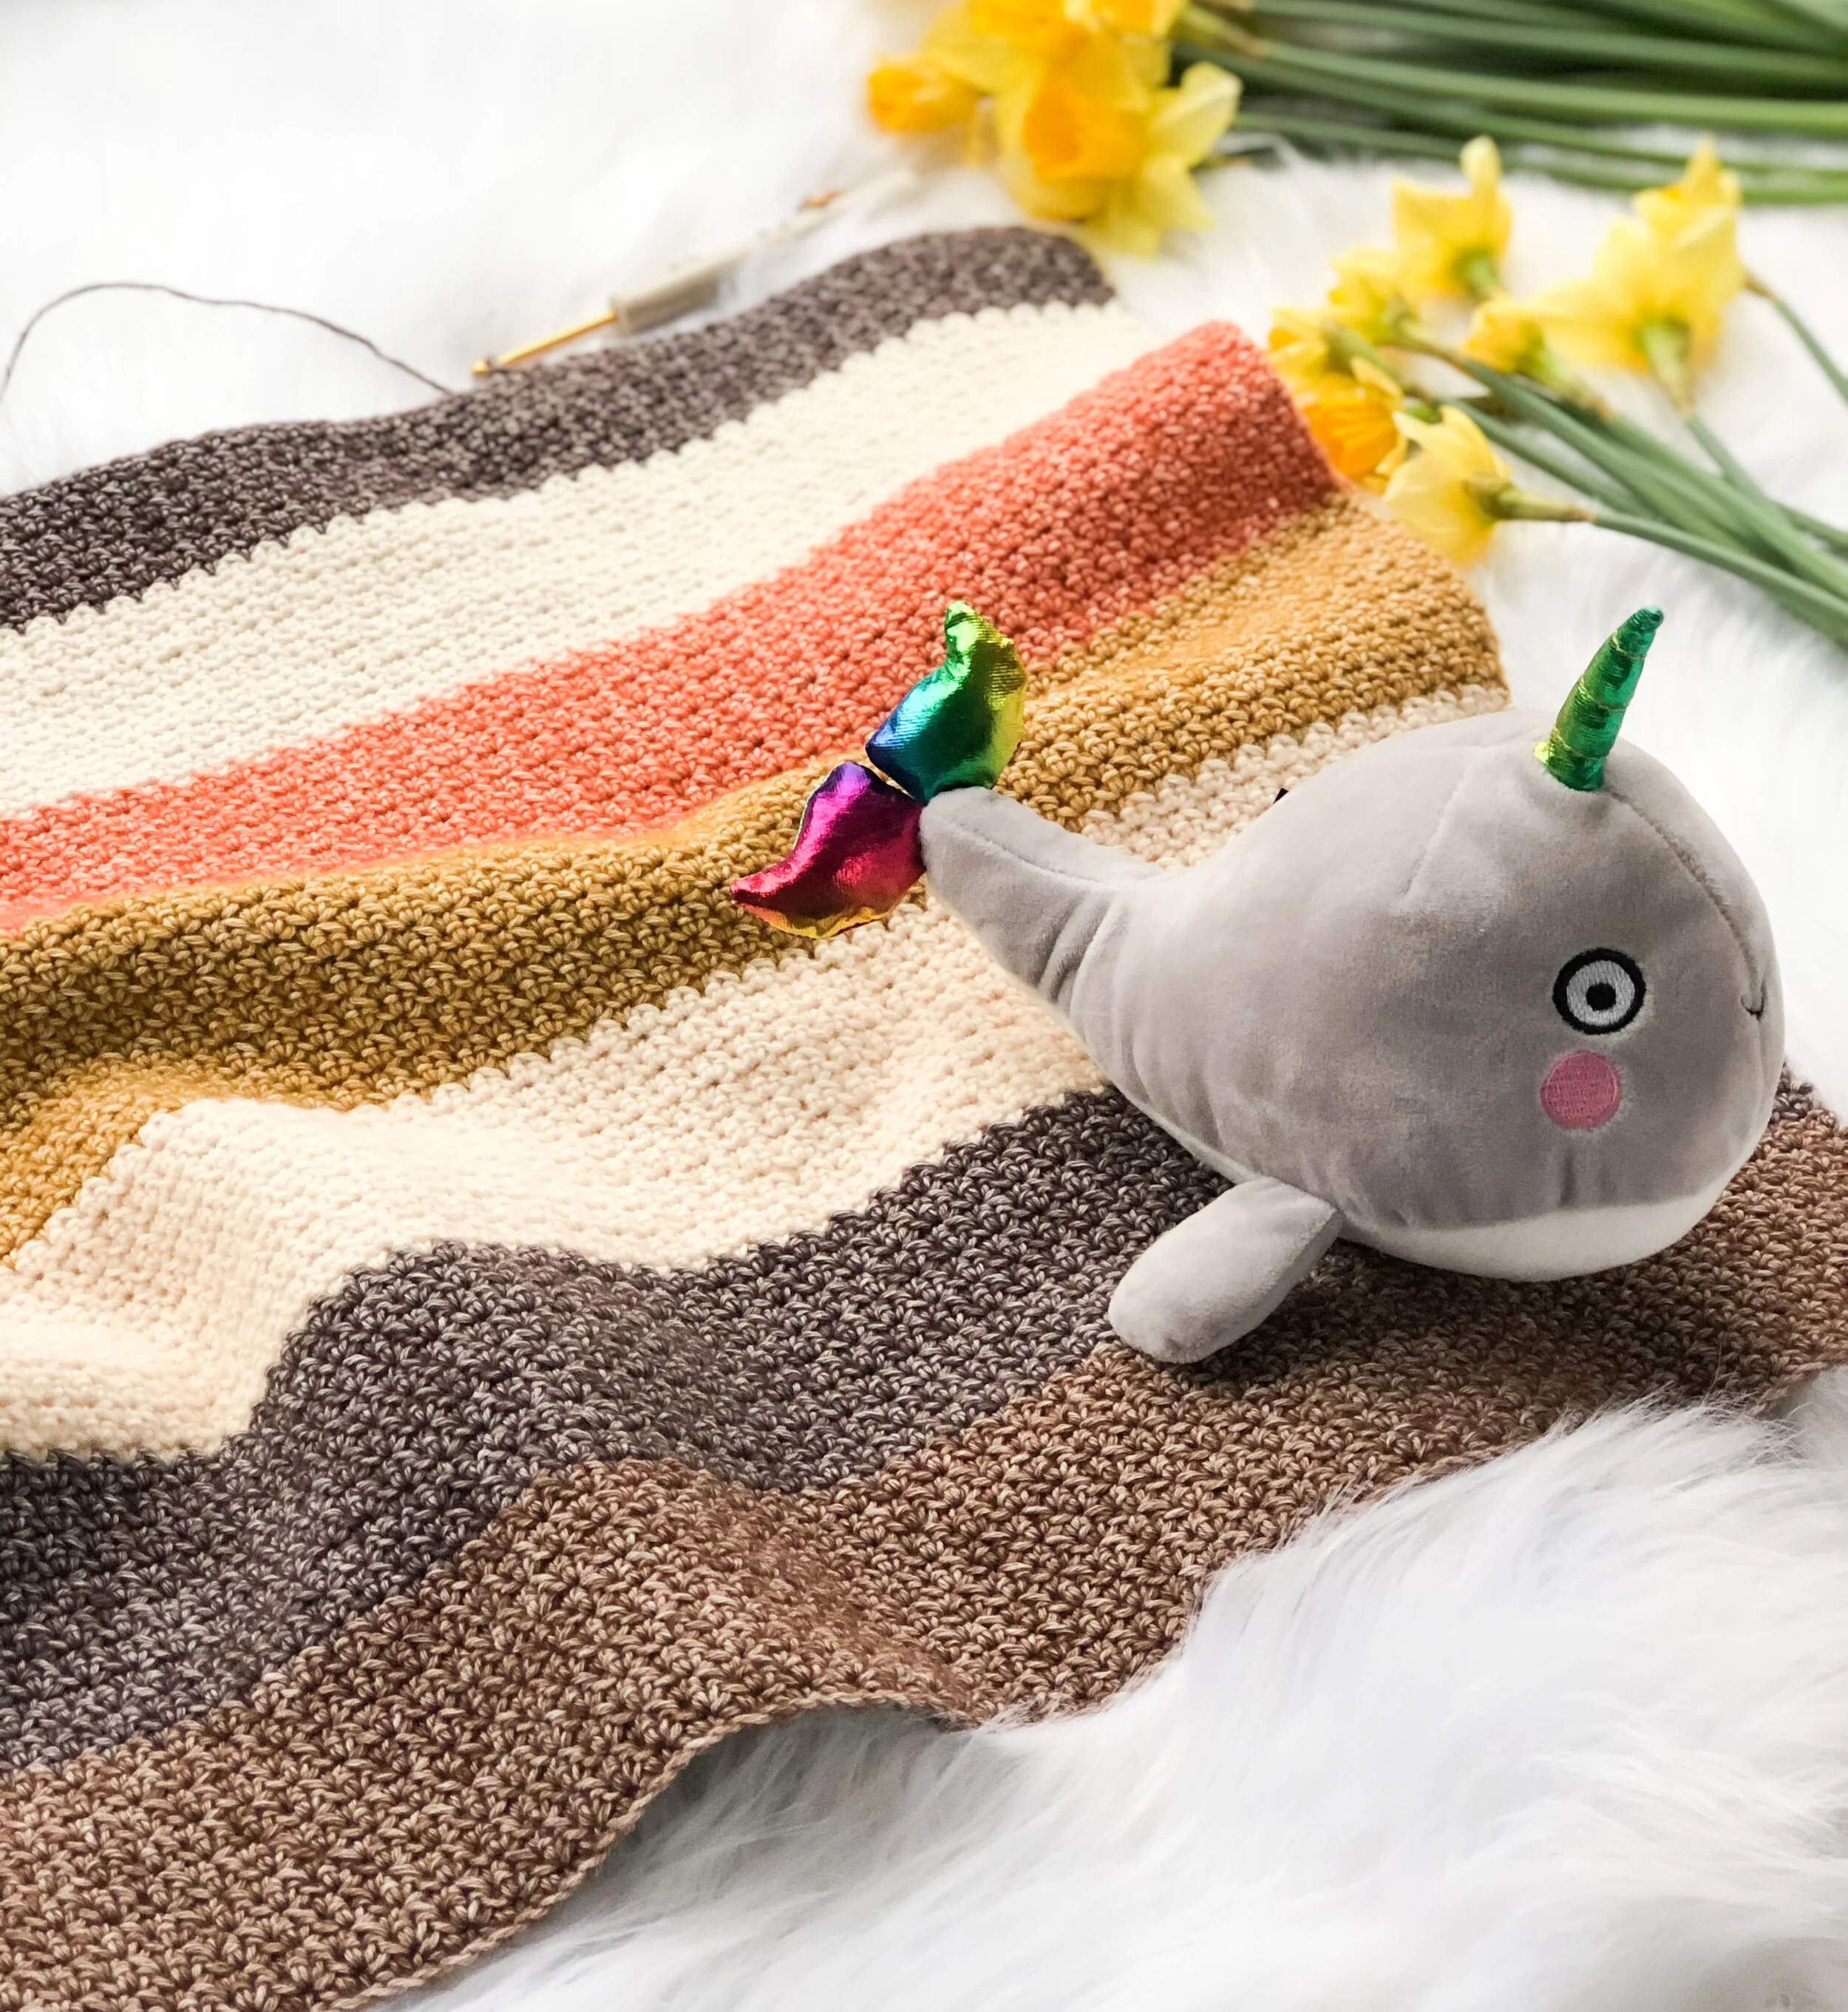
They are called nightflower mitts because they are similar to my other free mitts pattern, the seaflower mitts and also the original sample used a dark blue main colour with brightly coloured floral centres and I thought they looked like flowers in the night sky. Dreamy.

This year I finally decided to get the pattern out there and the first thing that I wanted was to make another pair with a completely different colour scheme.

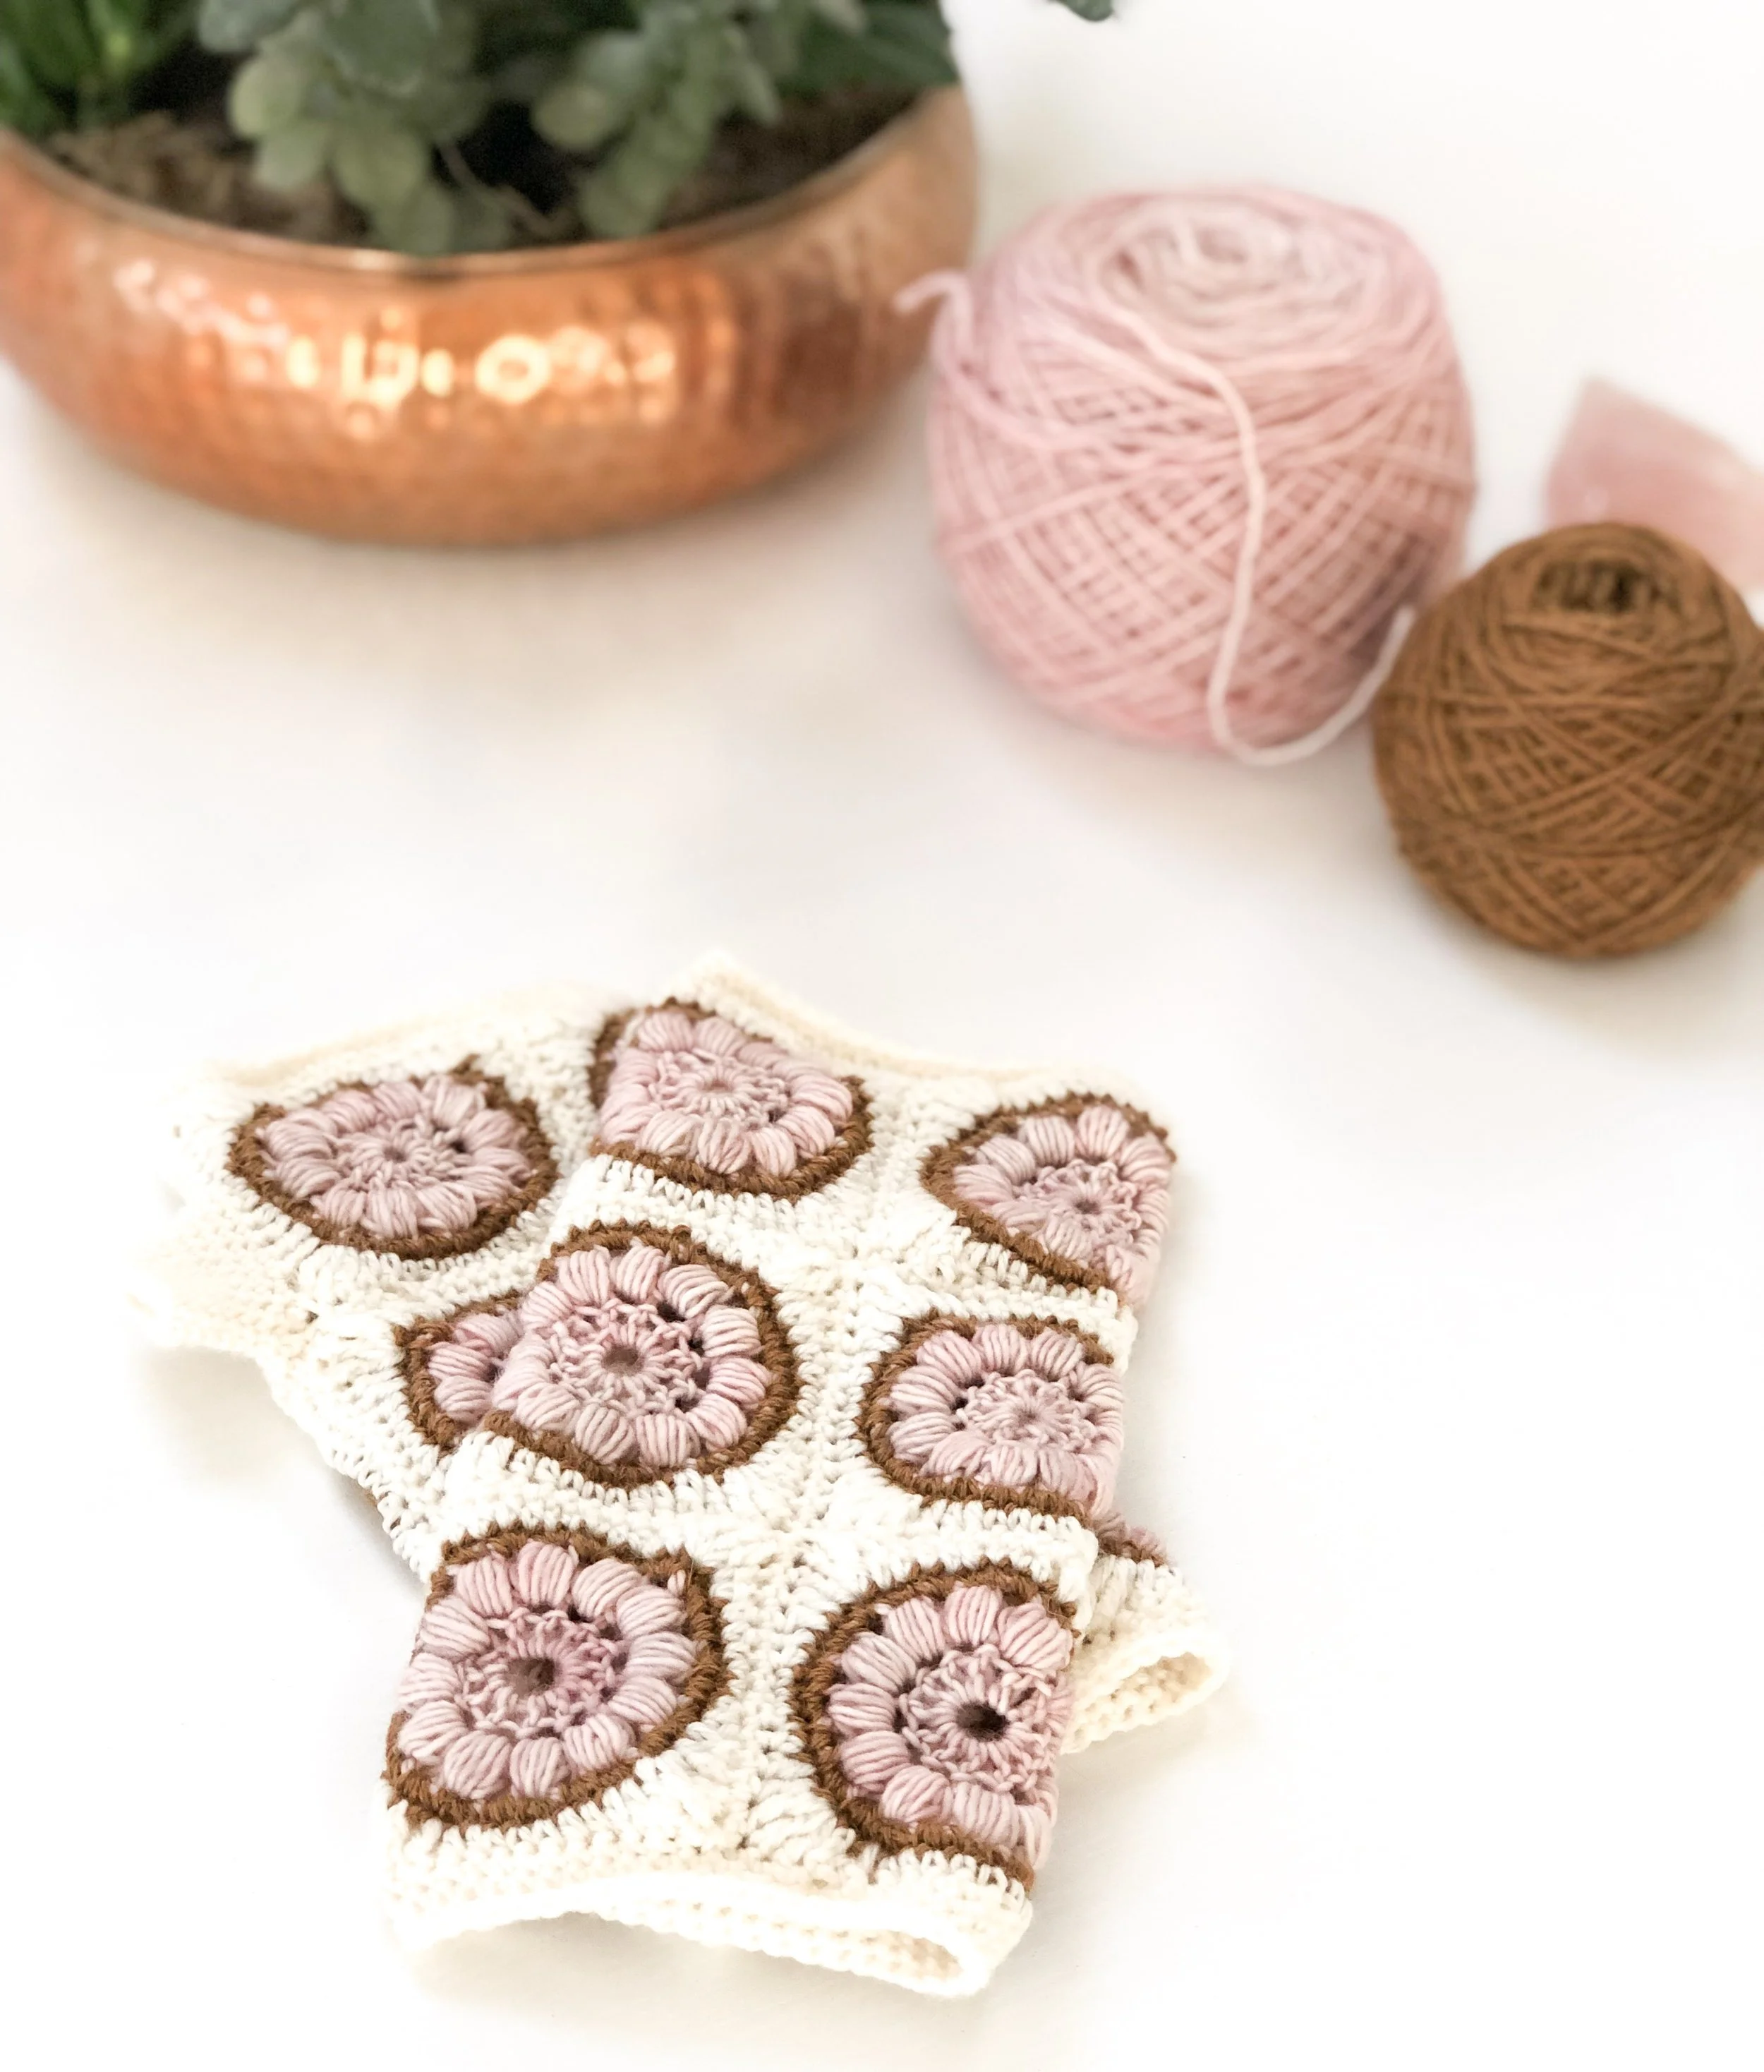
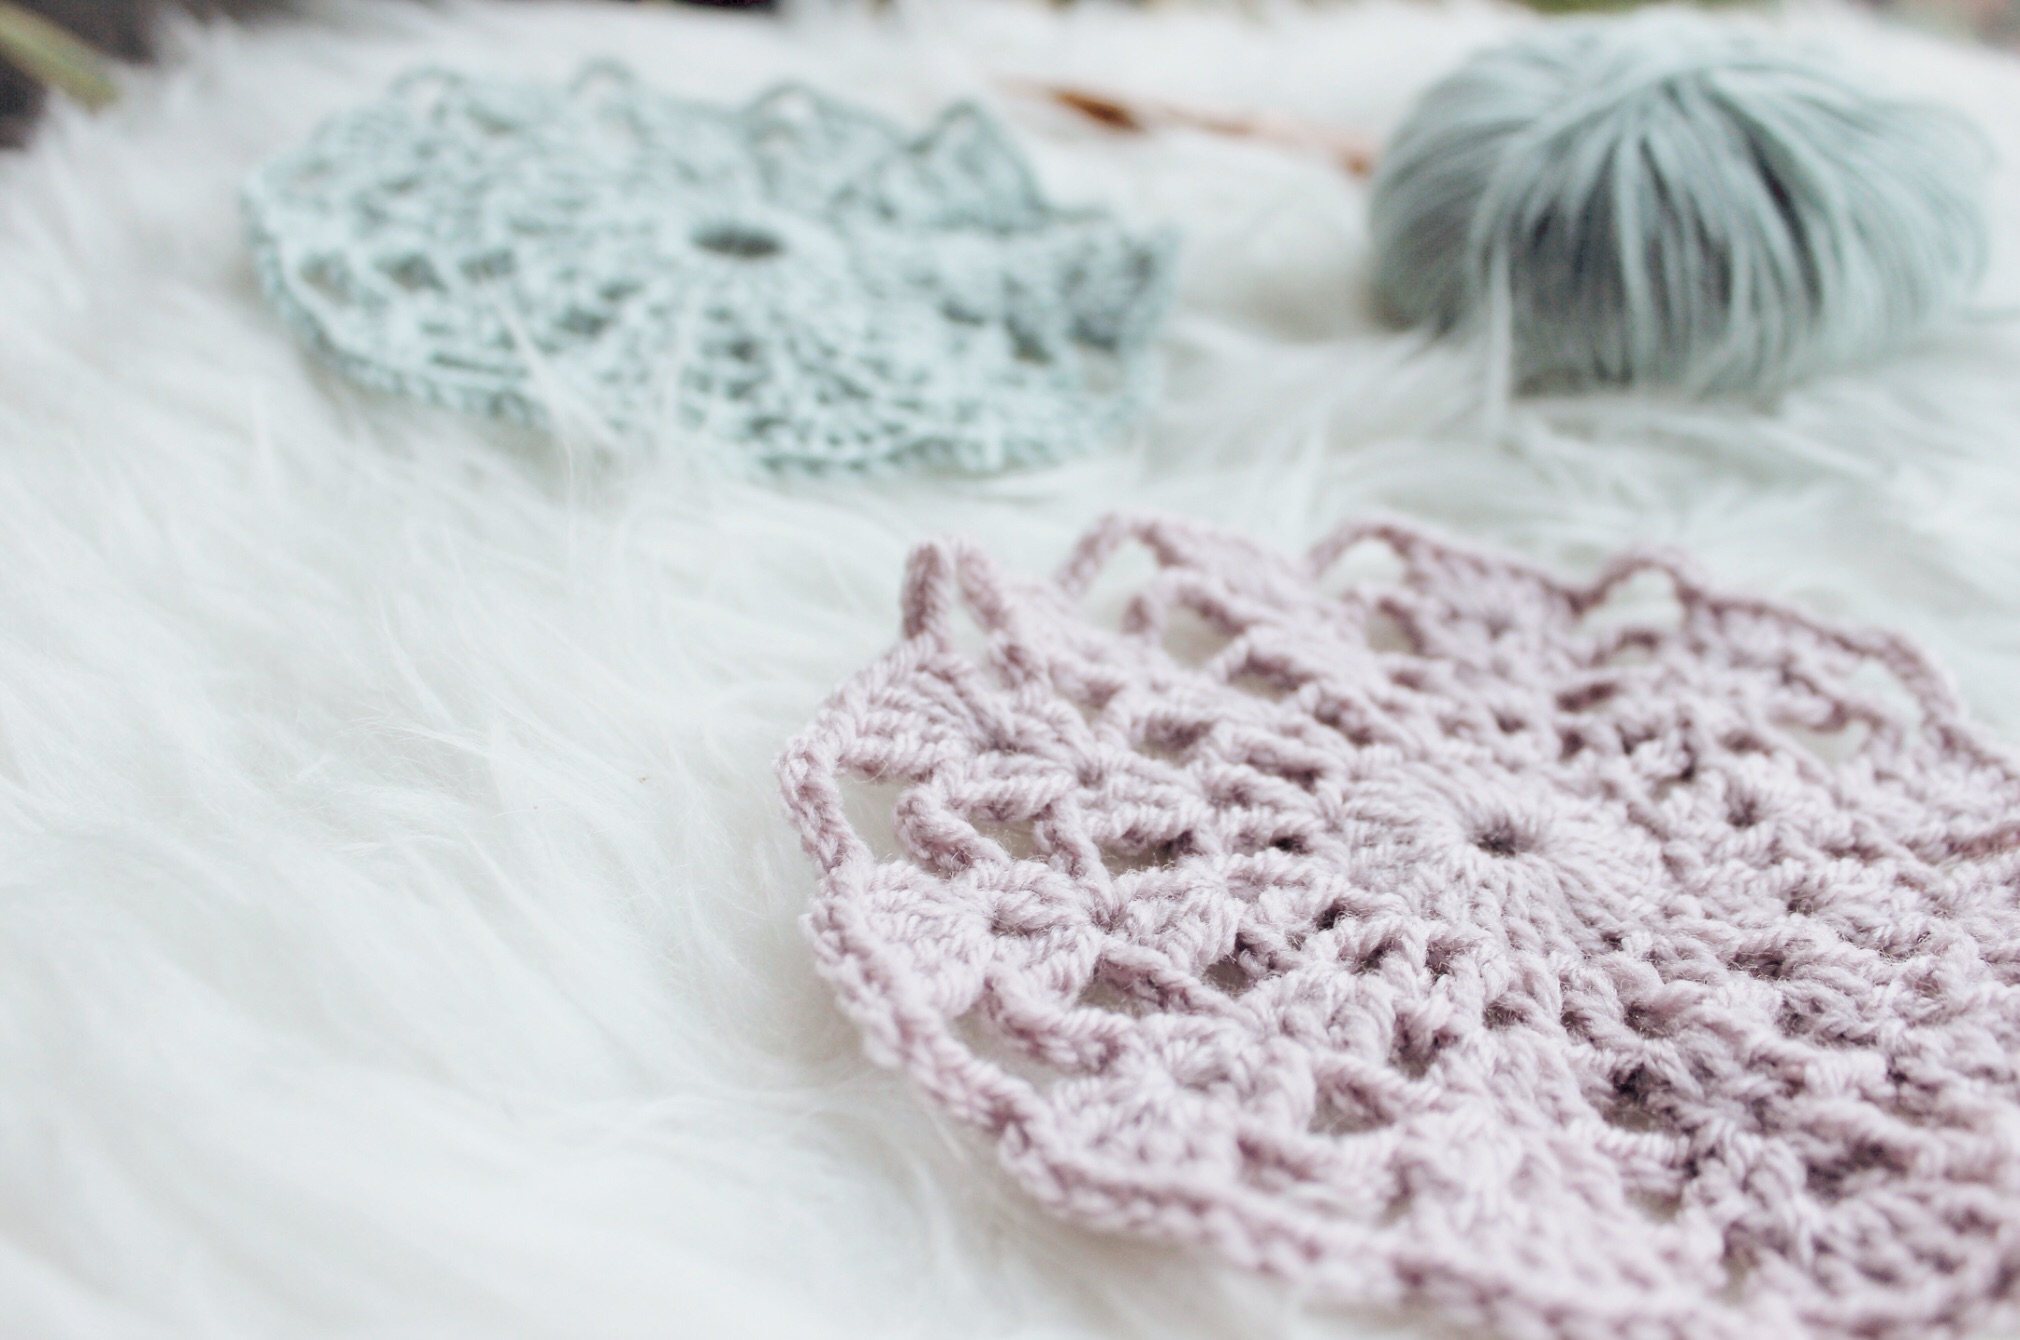
The first iteration of the squares was just pink and white and then for some reason I picked up the caramel colour and added it in, liked it, and then I had to make them all three colour instead of two even though this meant re-doing a whole bunch of motifs, gah!
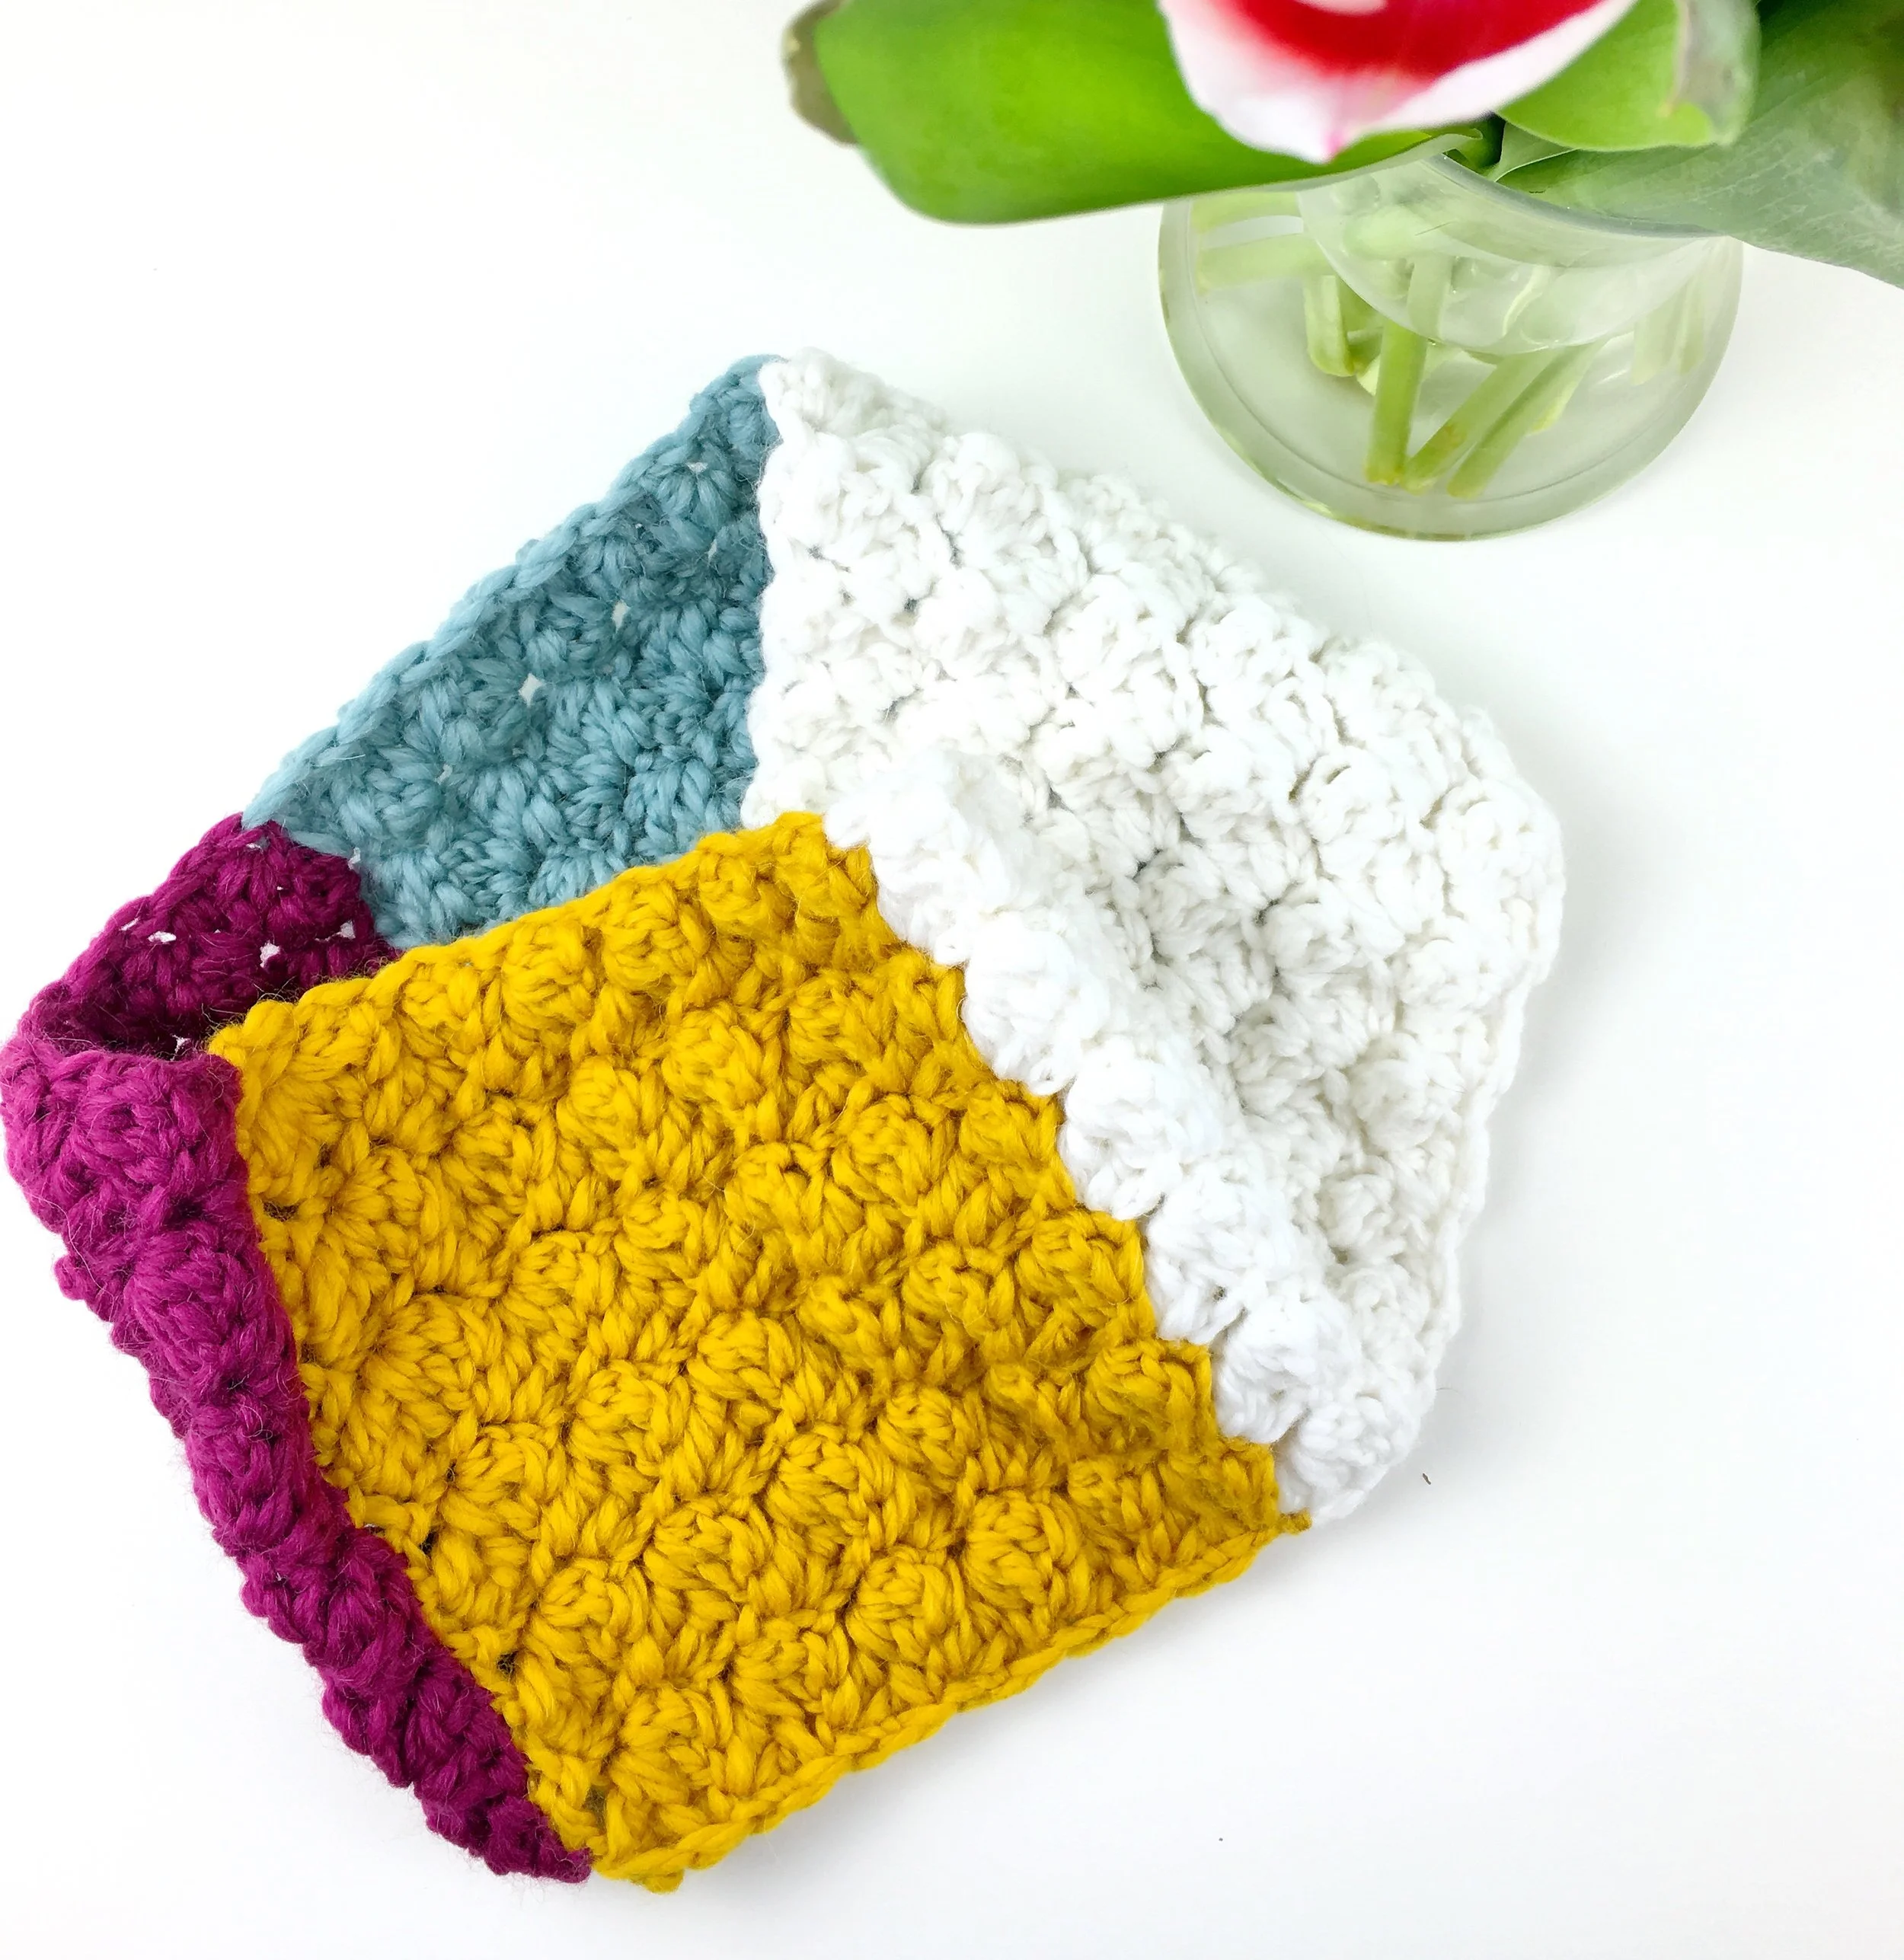
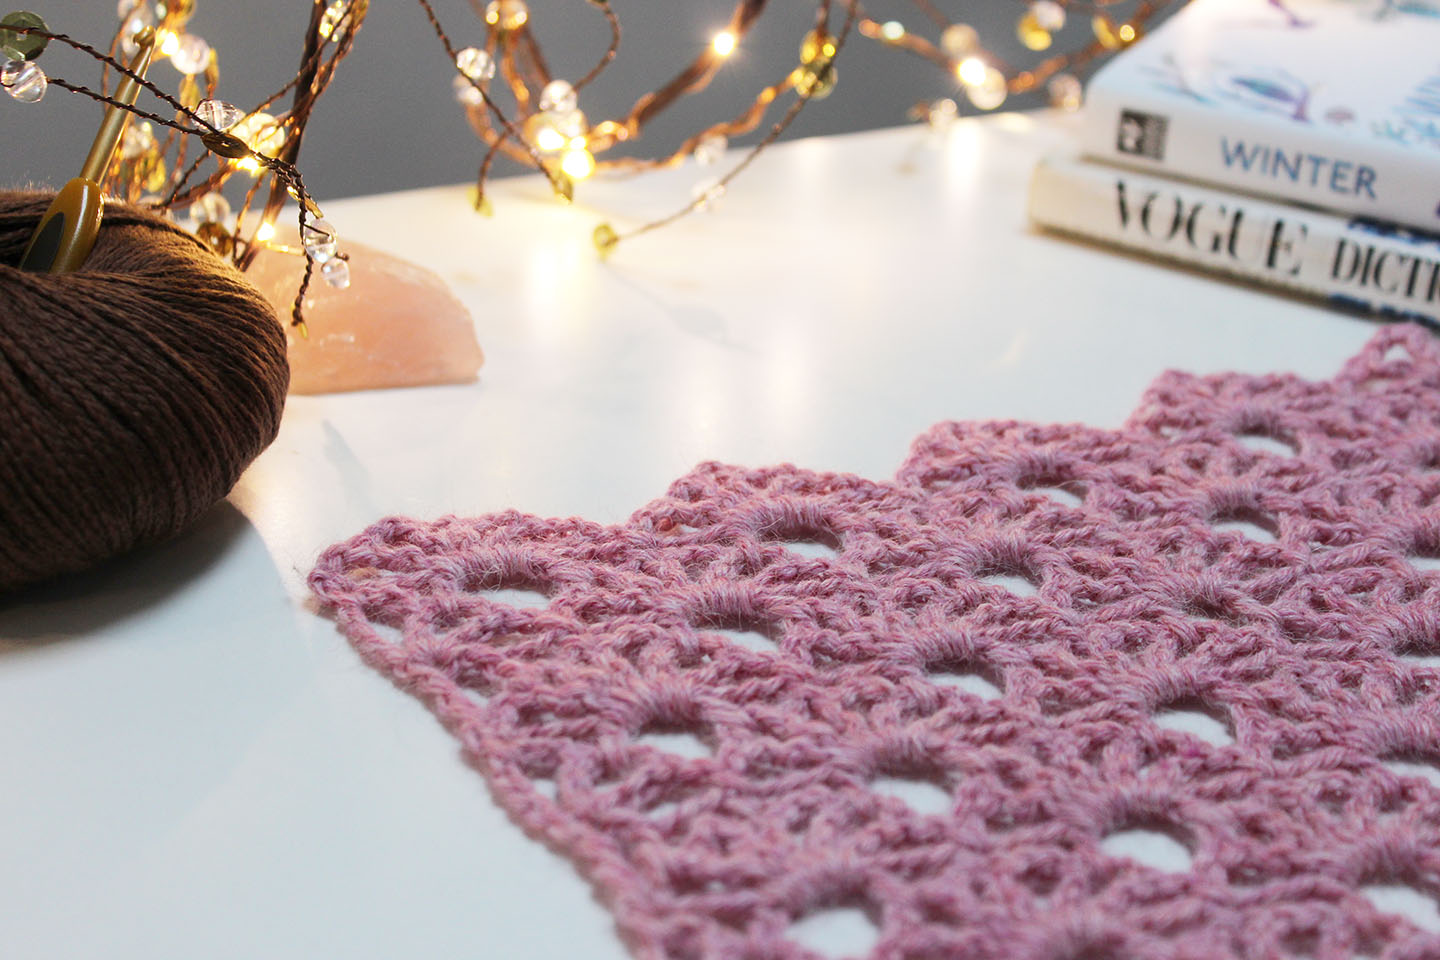
You can make these mitts in one, two or three colours, it’s entirely up to you because the nightflower motif looks great in any configuration. For this pattern sample I have used three colours of fingering weight yarn but feel free to experiment and go with what you prefer.
There is a video tutorial for the motif, which you can find at the end of this post, go with any colour combination that you prefer and use the motif to make whatever you like, you don’t have to just make mitts, I think it would look great as a blanket or even a scarf. Go wild.

PATTERN INSTRUCTIONS
You will need:
Two or three colours of any fingering or 4ply weight yarn and a 4mm hook. You can of course use DK weight yarn for this pattern if you like but it may make the mitts significantly bigger - great if you have big hands though eh?
I used:
Colour A - Madelinetosh Merino Light in Scout (pink)
Colour B - Inca Collection Alpaca Silk 4ply in Caramel
Colour C - Cascade Yarns Heritage in Snow
Tension: each square should measure approx. 7cm x 7cm - don’t worry if your square come up slightly smaller than this, you can always block them to size.
Special Stitch: Puff Stitch - pull up loop on hook about half a centimetre, yarn round hook (yrh), hook into current stitch x 6, yrh and through all loops on hook.
Nightflower Mitts - UK terminology
Make 18
Round 1. With Colour A and using the magic loop method, ch3 (counts as first treble) and work 11tr into the loop. Pull the loop tight and join with a ss to top of beg. ch3 (12tr)
Round 2. Work first puff stitch in same place as ss, ch1, work puff stitch in each treble around, join with a ss to top of beginning puff stitch. (12 puffs). Break off Colour A.
Round 3. Join Colour B into the top of any puff and ch1, 2dc in same place, 2dc in gap between puff, *2dc in top of next puff, 2dc in gap between puff; repeat from * to end, join with a ss to beg ch1. (48dc). Break off Colour B.
Round 4. Join Colour C into any stitch and ch3, 1tr in next st and working in each st around, 2htr, 3dc, 2htr, 2tr, 3dtr in next st (corner made), *2tr, 2htr, 3dc, 2htr, 2tr, 3dtr in next st; repeat from * around ending ss into top of beg. Ch3. Break off Colour C. Sew in all ends.
Block each square by pinning out flat (and to size if they don’t quite measure 7cm square), spray lightly with water and leave to dry.
To make up
Using Colour C join squares together 3 squares x 3 squares (9 squares per mitt). Join squares using a crochet join. Place two squares together with right sides facing, hook through middle dtr of front square, hook through middle dtr of back square, pull yarn through and work a chain, hook through next st and corresponding st of back square, pull yarn through and work a chain. Continue in this way until all sts have been joined.
Wrap your big square around to form a tube, check for sizing at this point and if the mitt feels a little tight you can simply add a row of dc to each end (if it feels really tight then add two rows of dc to each end), and working on the inside (the side where the crochet join is visible), join two squares together. Break off yarn and rejoin at the top square, join this square only halfway down. This creates a hole for your thumb.
Thumbs
Rejoin Colour C to one side of thumbhole gap you created. Work 1dc into each st around, aim for 16 stitches as this creates a nice sized thumb - you may have to work a dc into the top and bottom of the thumbhole gap to achieve this. Continue working 1dc into each st around until your thumb measures approx. 2.5cm. Repeat on second mitt.
Finishing
Bottom and top edges alike.
Join Colour C to any st along bottom edge, ch1, work 1dc into each st around, join with a ss to beginning dc. Next row. Ch1, work 1dc into every st around, join with a ss to beginning dc. Break off yarn.
Sew in all ends. Put your mitts on and feel really bloody proud of yourself, you are awesome!

Nightflower Mitts - US terminology
Make 18
Round 1. With Colour A and using the magic loop method, ch3 (counts as first double crochet) and work 11tdc into the loop. Pull the loop tight and join with a ss to top of beg. ch3 (12dc)
Round 2. Work first puff stitch in same place as ss, ch1, work puff stitch in each dc around, join with a ss to top of beginning puff stitch. (12 puffs). Break off Colour A.
Round 3. Join Colour B into the top of any puff and ch1, 2sc in same place, 2sc in gap between puff, *2sc in top of next puff, 2sc in gap between puff; repeat from * to end, join with a ss to beg ch1. (48sc). Break off Colour B.
Round 4. Join Colour C into any stitch and ch3, 1dc in next st and working in each st around, 2hdc, 3sc, 2hdc, 2dc, 3tr in next st (corner made), *2dc, 2hdc, 3sc, 2hdc, 2dc, 3tr in next st; repeat from * around ending ss into top of beg. Ch3. Break off Colour C. Sew in all ends.
Block each square by pinning out flat (and to size if they don’t quite measure 7cm square), spray lightly with water and leave to dry.
To make up
Using Colour C join squares together 3 squares x 3 squares (9 squares per mitt). Join squares using a crochet join. Place two squares together with right sides facing, hook through middle tr of front square, hook through middle tr of back square, pull yarn through and work a chain, hook through next st and corresponding st of back square, pull yarn through and work a chain. Continue in this way until all sts have been joined.
Wrap your big square around to form a tube, check for sizing at this point and if the mitt feels a little tight you can simply add a row of sc to each end (if it feels really tight then add two rows of sc to each end), and working on the inside (the side where the crochet join is visible), join two squares together. Break off yarn and rejoin at the top square, join this square only halfway down. This creates a hole for your thumb.
Thumbs
Rejoin Colour C to one side of thumbhole gap you created. Work 1sc into each st around, aim for 16 stitches as this creates a nice sized thumb - you may have to work a sc into the top and bottom of the thumbhole gap to achieve this. Continue working 1sc into each st around until your thumb measures approx. 2.5cm. Repeat on second mitt.
Finishing
Bottom and top edges alike.
Join Colour C to any st along bottom edge, ch1, work 1sc into each st around, join with a ss to beginning sc. Next row. Ch1, work 1sc into every st around, join with a ss to beginning sc. Break off yarn.
Sew in all ends. Put your mitts on and feel really bloody proud of yourself, you are awesome!
You can watch the tutorial for the motif here. Enjoy.