free pattern | granny advent blanket

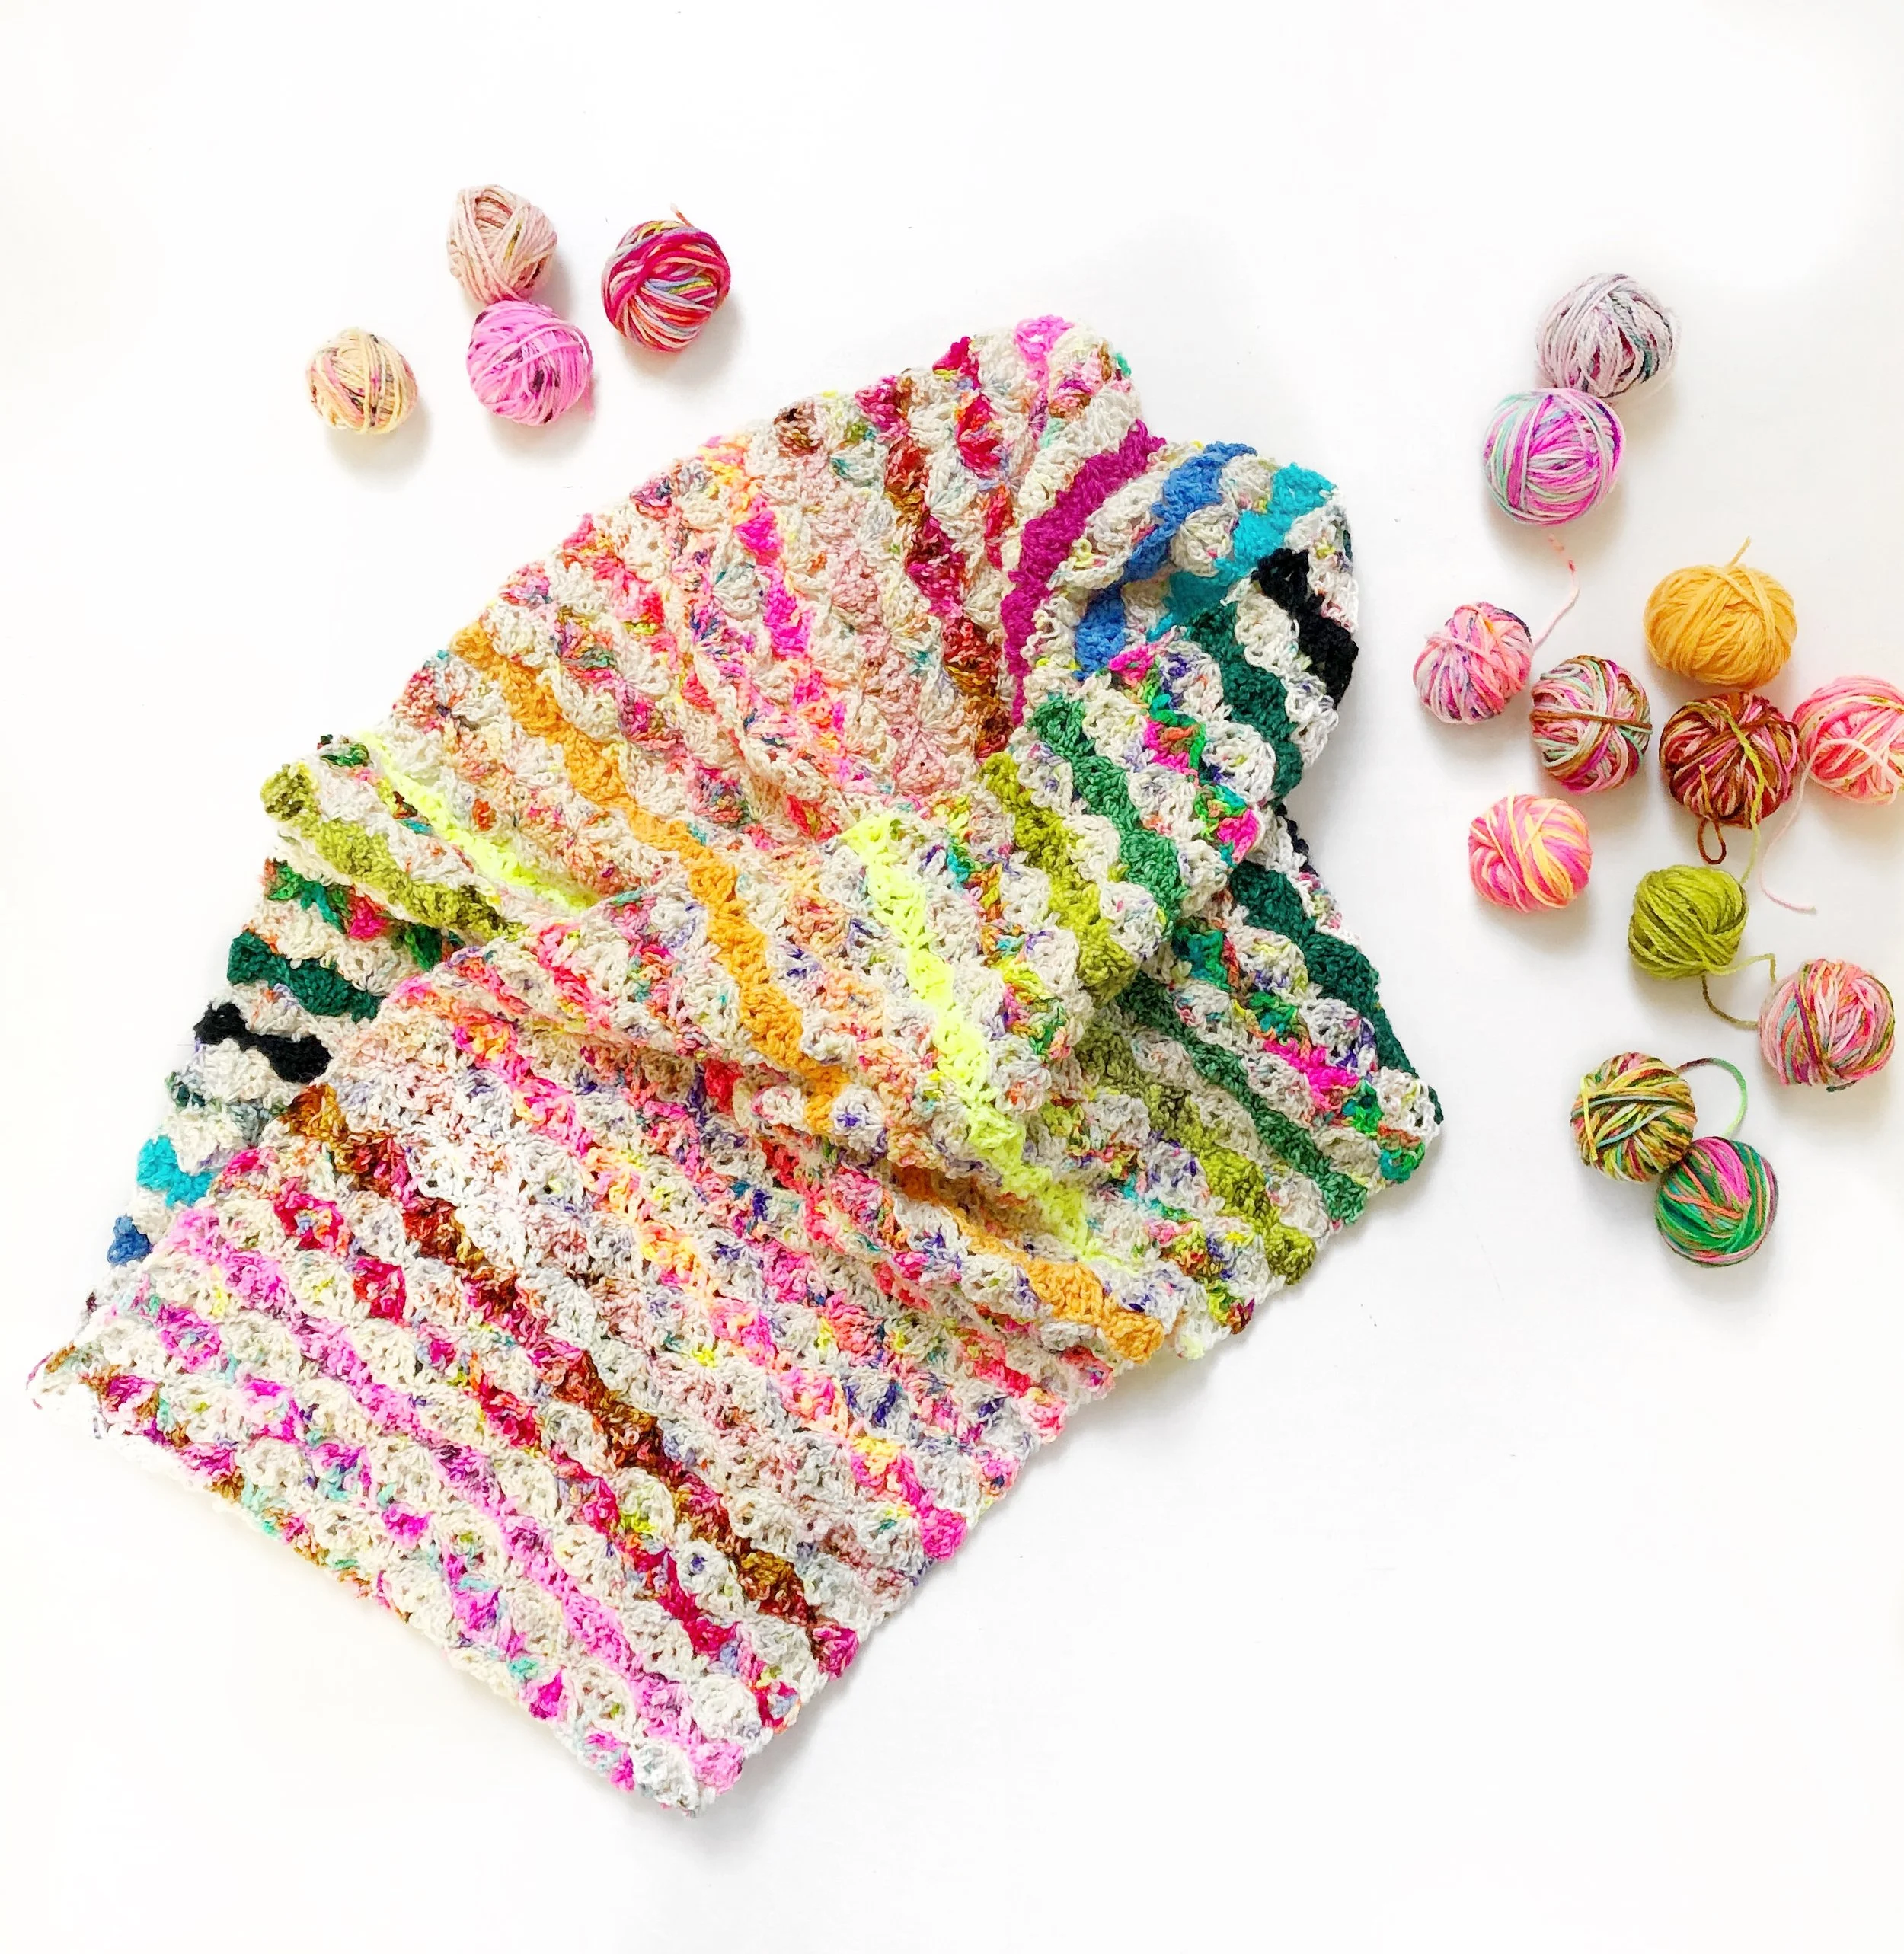
It has taken me well over a year to figure out what to do with my 2019 yarn advent calendar from @biffsugaryarns but I got there in the end. Just had to tolerate a whole year of lockdown madness and eventually my brain figured out that a big blanket project would be a really nice (and useful) thing to make with it.
The idea is that it will take you a whole year (it will definitely take me the whole year) to use your yarn therefore spreading the advent love, peace and joy throughout the year.
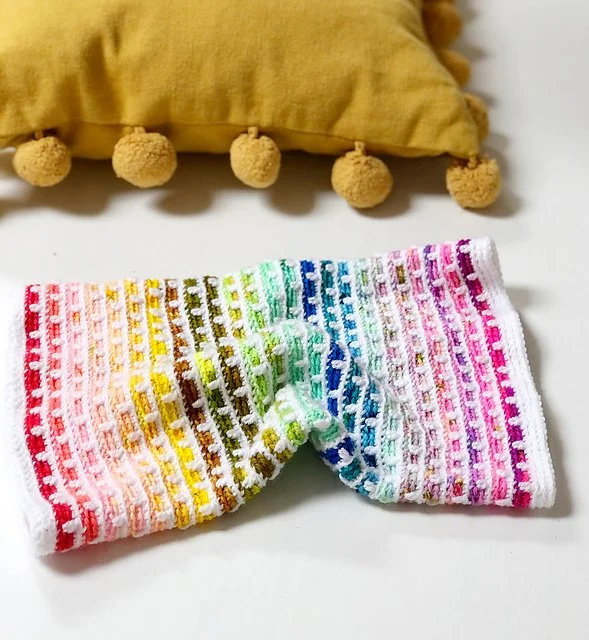
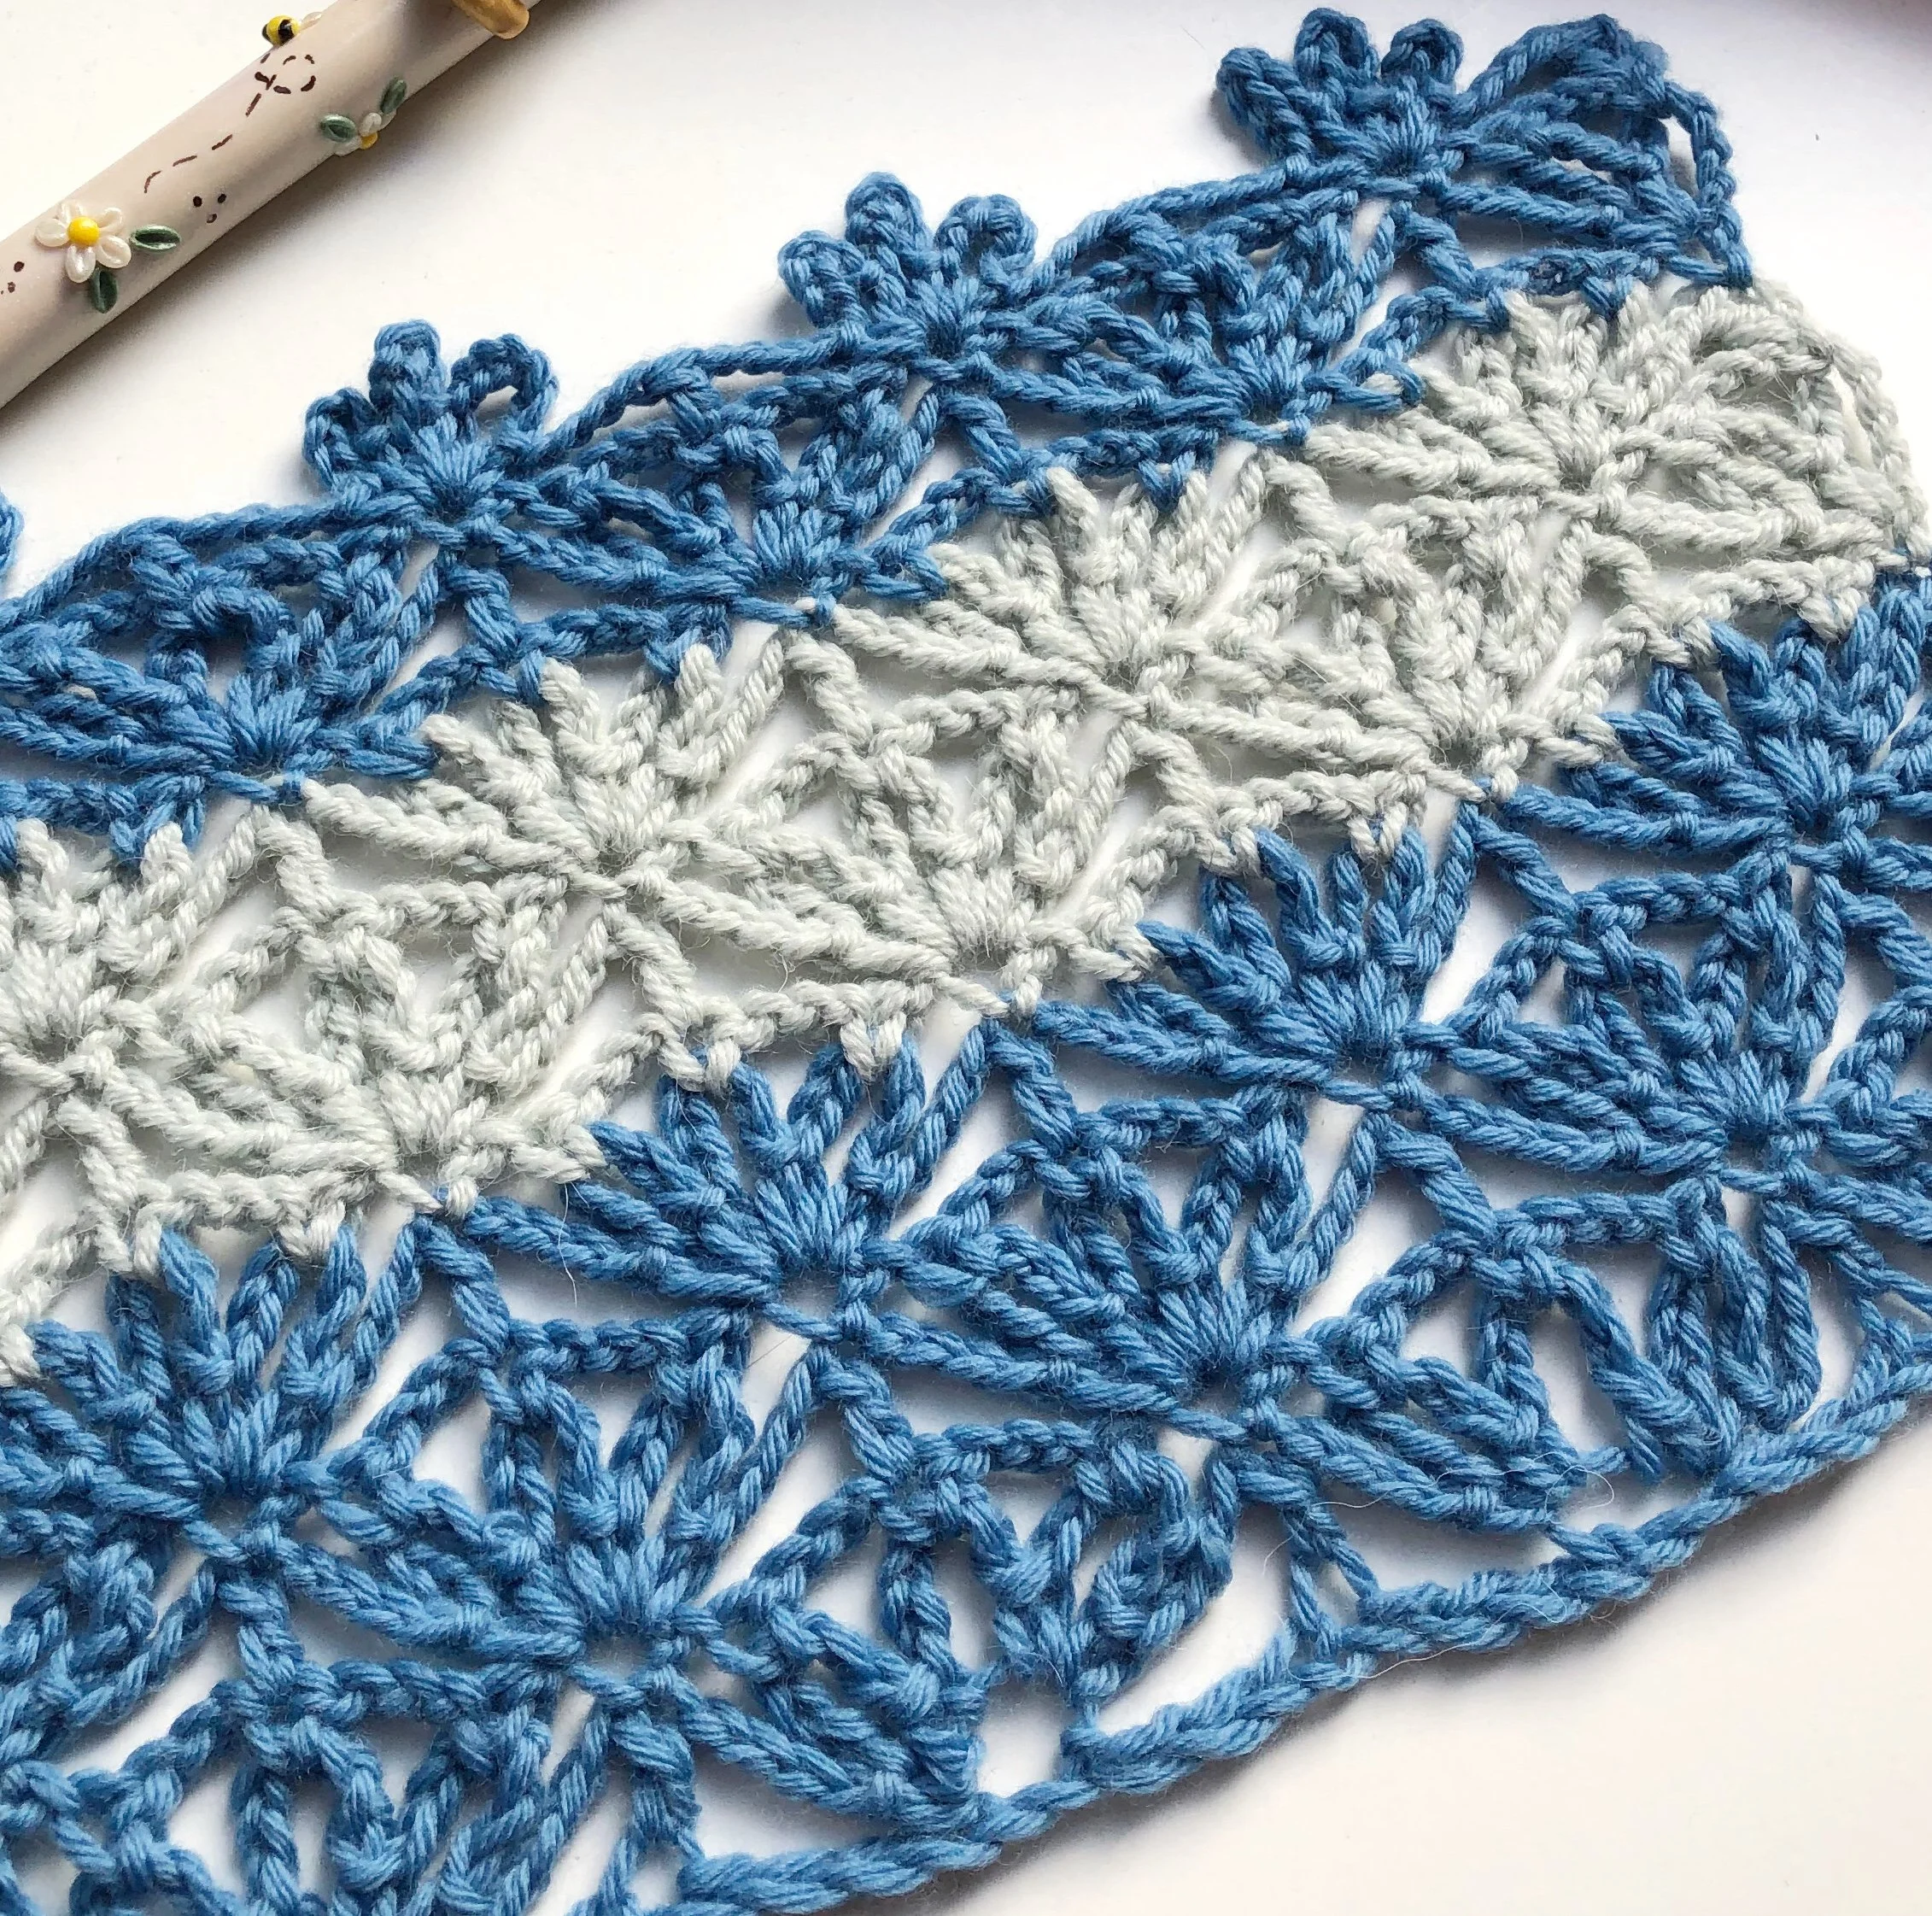
The pattern uses a basic, two round solid granny square which tends to highlight the prettiness of the colours, making them look like little gems, or little crosses. Sometimes simplicity really is the best.
I usually work my solid granny squares with a ch2 corner and originally started off this blanket in that way but the fabric was working up a bit too stiff and so to loosen things up I switched to a ch3 corner space which I think works a lot better.

YOU WILL NEED
either a yarn advent calendar or alternatively a lot of yarn scraps in the same yarn weight. I used a 4ply sock yarn advent calendar (so 24 x 20g) for your centre colours (CC)
for my main colour (MC) I used Cascade Heritage in the colour Snow (5618)
3mm hook.
Note: you can use any weight yarn you like, just make sure you use a corresponding hook and that all your yarn is the same weight.
PATTERN IN UK TERMINOLOGY
With CC and a 3mm hook, ch4 and join with a slip stitch (ss) to form a loop (if you prefer a magic loop than do that)
Round 1. ch2 and into the loop work 2 trebles(tr), (ch3, 3tr) three times, ch3, join with a ss to top of beginning ch2. Break off CC.
Round 2. join in MC to same place as join from Round 1 and ch2, 1tr into each of next 2tr, (2tr, ch3, 2tr) in ch3 space, *1tr in each of next 3tr, (2tr, ch3, 2tr) in ch3 space, repeat from * to end, join with a ss into top of beginning ch2.
JOINING
When joining your squares on Round 2, work as follows on joining sides starting after corner ch3:
Slip stitch through to corresponding corner space and work next tr, pull up loop, remove your hook and insert from top to bottom through next stitch and pull through the loop, work next tr, continue in this manner to last tr worked, pull loop through last tr on joining square and ss through ch3 loop, ch3 and continue.
I am aware that this sounds confusing so watch the tutorial video here for clarification.

PATTERN IN US TERMINOLOGY
With CC and a 3mm hook, ch4 and join with a slip stitch (ss) to form a loop (if you prefer a magic loop than do that)
Round 1. ch2 and into the loop work 2 double crochet (dc), (ch3, 3dc) three times, ch3, join with a ss to top of beginning ch2. Break off CC.
Round 2. join in MC to same place as join from Round 1 and ch2, 1dc into each of next 2dc, (2dc, ch3, 2dc) in ch3 space, *1dc in each of next 3dc, (2dc, ch3, 2dc) in ch3 space, repeat from * to end, join with a ss into top of beginning ch2.
JOINING
When joining your squares on Round 2, work as follows on joining sides starting after corner ch3:
Slip stitch through to corresponding corner space and work next dc, pull up loop, remove your hook and insert from top to bottom through next stitch and pull through the loop, work next dc, continue in this manner to last dc worked, pull loop through last dc on joining square and ss through ch3 loop, ch3 and continue.
I am aware that this sounds confusing so watch the tutorial video here for clarification.
BUILDING
I work one square around my central square (marked with my blue bauble stitch marker) and after each square around I block the project. This is mainly because I’m using 4ply sock yarn which has a high merino content, if you’re using a heavier weight yarn or even an acrylic yarn, you could probably skip this step.
To block I simply pin it out to straighten the edges and lightly spray it with water. This makes working the next round a little easier because the stitches are more defined. You can of course build your blanket in whatever way you prefer and the blocking is entirely optional.
I hope you enjoy this pattern, sending lots of love and light your way.